
Nightingale Lawn & Landscape
Landscape Lighting Part 3: Professional Landscape Lighting Install & Maintenance – What To Expect
Welcome to the final installment of our landscape lighting series! After exploring lighting types (Blog #1) and design techniques (Blog #2), you may be asking yourself: “How do I actually get these lights installed—and what’s it going to cost?” In this post, we’ll walk you through the professional installation process, typical pricing factors, and the maintenance steps that keep your outdoor lighting system shining year-round.
First of all: why go professional?
A. Expertise & Design Cohesion
Professional installers don’t just bury some wires and call it a day. They take the time to understand your property’s layout, architectural features, and personal style. This ensures your lighting not only looks great from the curb but also complements the way you use your outdoor spaces.
B. Safety First
Dealing with electrical wiring, transformers, and outdoor weather conditions is serious business. A professional ensures everything is up to code, properly protected from moisture, and grounded to prevent electrical hazards.
C. Quality Fixtures & Materials
Reputable installers use high-grade fixtures designed to handle southern Missouri’s freeze-thaw cycles, humidity, and temperature swings. This means fewer replacements and repairs down the road.
The Professional Installation Process, Step by Step
Step 1: On-Site Consultation & Design
- What to Expect: A lighting professional (for us it will be our landscape manager) visits your property, notes its unique features (like trees, patios, pathways), and discusses your goals—whether that’s improving safety, showcasing a water feature, or creating a nighttime gathering space.
Outcome: You’ll receive a tailored design plan that outlines which fixtures go where, plus how they’ll achieve the ambiance you’re looking for.
Step 2: Selecting Fixtures & Finalizing the Plan
- What to Expect: You’ll discuss fixture styles, brightness levels, and color temperature (warm vs. cool lights). A good installer will offer product samples or photos so you can see what each type of light looks like.
Outcome: A clear roadmap for the number and types of fixtures, wiring routes, and any special techniques (like uplighting or downlighting).
Step 3: Installation Day
- Site Preparation: Mark utility lines and determine the safest places to bury cables or conduit.
- Fixture Placement: The installer sets lights according to the design plan—sometimes adjusting angles on the spot for the best effect.
- Wiring & Transformers: All wires are safely routed to a central transformer or multiple transformers, depending on the size of your system.
Testing & Adjustments: Once everything is powered up, the installer checks each fixture for brightness, direction, and glare. Small tweaks can make a big difference!
Step 4: Walkthrough & Demo
- What to Expect: Before they wrap up, your installer will give you a quick demo on how the system works—showing you timers, dimmers, or any smart controls.
Outcome: You’ll know exactly how to adjust settings, replace bulbs if needed, or sync your lights with smart home apps.
How Much Does Professional Landscape Lighting Cost?
While there’s no one-size-fits-all price tag, here are the key factors that influence cost:
- Number of Fixtures
- Each light adds to the total cost. A smaller home might only need 8–10 fixtures, whereas a more elaborate property could see 20 or more.
- Each light adds to the total cost. A smaller home might only need 8–10 fixtures, whereas a more elaborate property could see 20 or more.
- Fixture Quality & Type
- Material: Solid brass, copper, or marine-grade steel cost more but last longer.
- Bulb Type: LEDs are more energy-efficient and have longer lifespans, so they often pay for themselves in reduced electricity and fewer replacements.
- Material: Solid brass, copper, or marine-grade steel cost more but last longer.
- Complexity of the Project
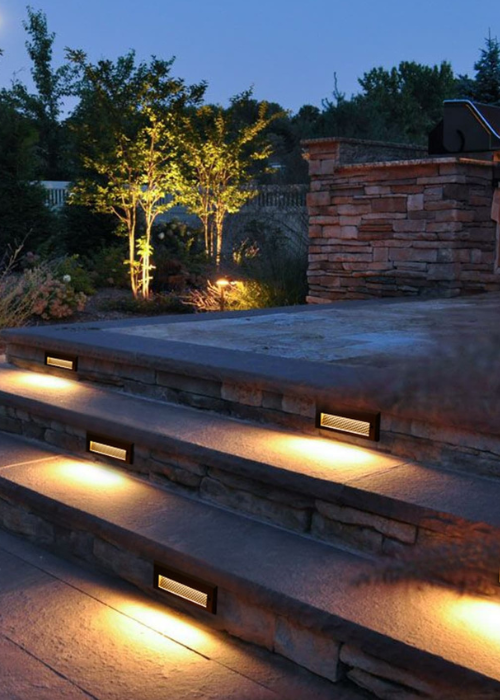
- Hardscape Work: Installing lights in stone walls or concrete steps can be more labor-intensive than simple stake-in-the-ground path lights.
- Property Terrain: Slopes, rocky soil, or extensive gardens can affect the amount of trenching and wiring work needed.
- Hardscape Work: Installing lights in stone walls or concrete steps can be more labor-intensive than simple stake-in-the-ground path lights.
- Additional Features
- Smart Controls: Bluetooth or Wi-Fi-enabled systems that let you control your lights from your phone or link them with other smart home devices can add to the upfront cost.
- Color-Changing Lights: Some homeowners love the ability to switch hues for holidays or game day, but color-changing LEDs are pricier.
- Smart Controls: Bluetooth or Wi-Fi-enabled systems that let you control your lights from your phone or link them with other smart home devices can add to the upfront cost.
Price Range Example:
- Small System (8–12 fixtures): $2,000–$3,000, installed.
- Medium System (12–20 fixtures): $3,000–$6,000, installed.
- Larger or Complex System (20+ fixtures): $6,000 and up, depending on custom features and intricate wiring.
Keep in mind that these are rough estimates. Every property is unique, and a consultation is the best way to get an accurate quote.
Maintenance 101: Keeping Your Lights Shining
A. Seasonal Adjustments & Cleaning
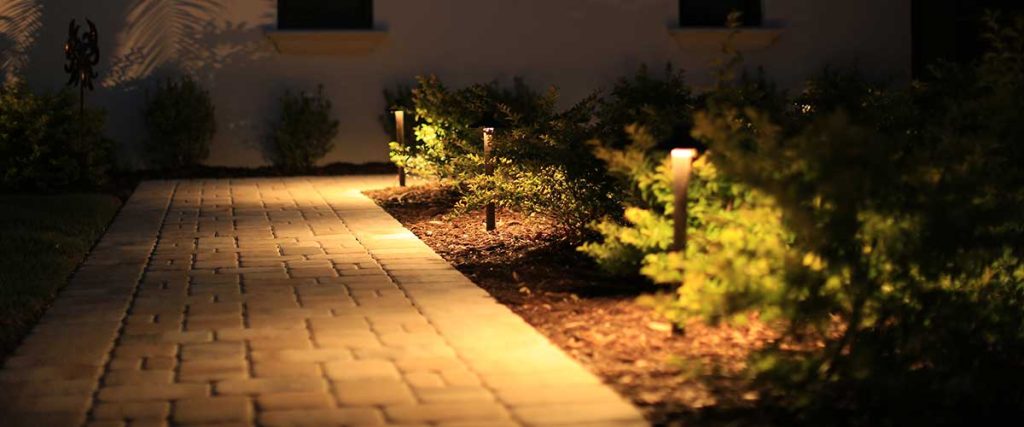
- What: Leaves, dirt, or mulch can accumulate around fixtures, dimming or blocking the light.
- Tip: A quick check each season to remove debris ensures maximum brightness.
B. Checking Fixtures & Bulbs
- What: Even LED lights can eventually dim or burn out, especially if exposed to harsh weather.
- Tip: Once or twice a year, stroll around your yard at night to spot any “hot spots” (glare) or burnt-out bulbs. Early detection = easy fixes.
C. Adjust for Plant Growth
- What: Trees and shrubs don’t stay the same size forever. Foliage might obstruct your lights as seasons change.
- Tip: Reposition or angle fixtures to keep the light hitting your focal points, not leaves or branches.
D. Professional Tune-Ups
- What: Some companies offer annual or biannual checkups, which can include cleaning lenses, realigning fixtures, and testing electrical connections.
Tip: A professional tune-up can extend the life of your system and keep it looking its best.